I love a good built-in. It offers so much more storage than free-standing furniture and because it is bespoke you can literally do with it exactly what you want. You can make it the perfect fit for your tallest vase, your longest dress, or just wide enough for your Dyson, plus steamer, mop and bucket. Winner winner. You can also get the exact look you want, traditional or modern or something in between. The only limiting factors are your imagination and the skill of your joiner. Oh, and your bank balance. Yes bespoke doesn’t come cheap.
And because it is such an investment you really want to get it right. Don’t miss the opportunity to get the perfect look and the perfect fit. Here’s how.
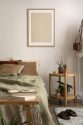
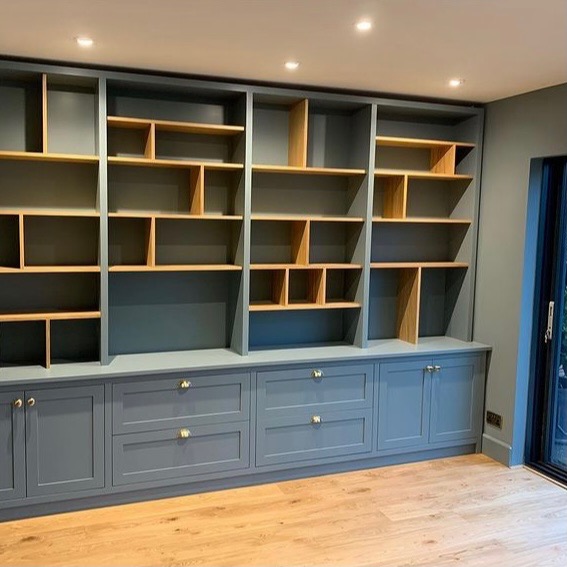 Here’s one I designed earlier
My top tips for creating built-in storage
1. Go floor to ceiling
To max out on your storage you really want to go floor to ceiling if you can. And, if you have the right spot, wall-to-wall will make a real impact. Taking your storage high up will draw the eye up and help the whole space feel taller and grander. If you do this then my preference is to leave a shadow gap at the top of the unit like in the image above. The shadow gap makes the space feel more three-dimensional and it’s also really helpful if you have old wonky walls and ceilings, it also gives a slightly more contemporary feel. But if you want to go really traditional then you can put some decorative moulding there instead.
And just to contradict myself I should mention that if you have super tall ceilings (lucky you) then this may be the time not to take them all the way up. When you make something very tall it can often look skinny, even if it isn’t, and throw it out of proportion. So if you are going super tall then go super wide as well so it’s all balanced.
2. Get the right depth
600mm deep is pretty standard for cupboards and wardrobes. Any less than this and it will be tight getting clothes hangers in here. Go much deeper and it will become useless space as it’s too far back for you to reach and keep organised. When it comes to alcoves they will often determine depth but they are often very shallow, sometimes only 300mm deep so don’t be afraid to build them out a little bit. If you have complete flexibility then I would say 400-500mm is a good depth on a base unit. Then if you want open shelving above make that much shallower so it steps back and isn’t so imposing. 230mm – 280mm is a good depth for decorative items and books.
3. Drawers or shelves?
Drawers will make your built-in more expensive and you will technically have less storage space than if you have shelves. But the space will be much more accessible and much better organised so overall you will gain, and my preference is always drawers.
However, if you have some tall items you need to store, then shelves are going to be more practical.
4. Work around your items
This is where it pays to get really detailed and take some time to plan the interior of your built-in. If it’s a wardrobe with hanging space then measure the length of your longest coat or dress to make sure you have adequate length. If you are housing your book collection then measure your tallest book. And if you are going for baskets on shelves, buy your baskets first. Much harder to find baskets to fit your shelves afterwards! And if it’s utility storage line up all your appliances and make sure you are providing enough width for them. This is really boring but once you’re using it every day you will be so glad you took the time to do it right.
5. Get the right look
You can pretty much go for whatever you like so spend a few hours on Pinterest and then copy whatever sings out to you. Handle-less and frameless gives a much more contemporary look. Particularly if you use a decorative MFC which can come in any colour or effect you dream up. Whilst architraves, detailing, brass handles and a painted finish will create a really traditional feel. So it’s whatever you fancy a bit of really.
Also think if you want to go for symmetry or not. With the image at the top we went for an overall symmetrical look but mixed it up with asymmetrical shelves to create a more playful and informal look.
6. Lighting or no lighting
This will also influence the look and feel of your built-in. Top-end, very high-spec new builds for footballers and the like have LED lights everywhere these days, including all joinery-like shelving. It’s less successful in modest Victorian semis, and for me, it’s not a look I love. I don’t need to see my ornaments and paperbacks backlit with warm LED lights. But if you love that look, then it’s easily achievable, you just need to let your joiner know right from the start so they can build the relevant gap or upstand to conceal the strips.
7. Paint it the same colour as the wall
If you haven’t gone for an MFC wood or gloss effect then you are likely to be painting your built-in once it’s in situ. One of my favourite looks is to paint it the same colour as the wall. This creates a really calming effect and makes the built-in blend seamlessly with the room, making it feel like it’s always been there. This is particularly effective if it’s a very tall or large piece that may feel overbearing if it’s in a contrasting colour. Or if you didn’t want to go for the exact match then paint in a tonal colour that compliments the wall colour.
8. Or make it pop
The alternative is to really make a feature of your built-in and paint it in a complete contrast. Or you could do something in-between, it can be really fun to paint the insides of your cupboards a bright contrast for a little burst every time you open it. Or if you have open shelves you could wallpaper the back of them in a crazy pattern that peeks through from behind the objects you display.
So you see there are so many ways you can personalise your built-in storage to create something that is really practical and beautiful.
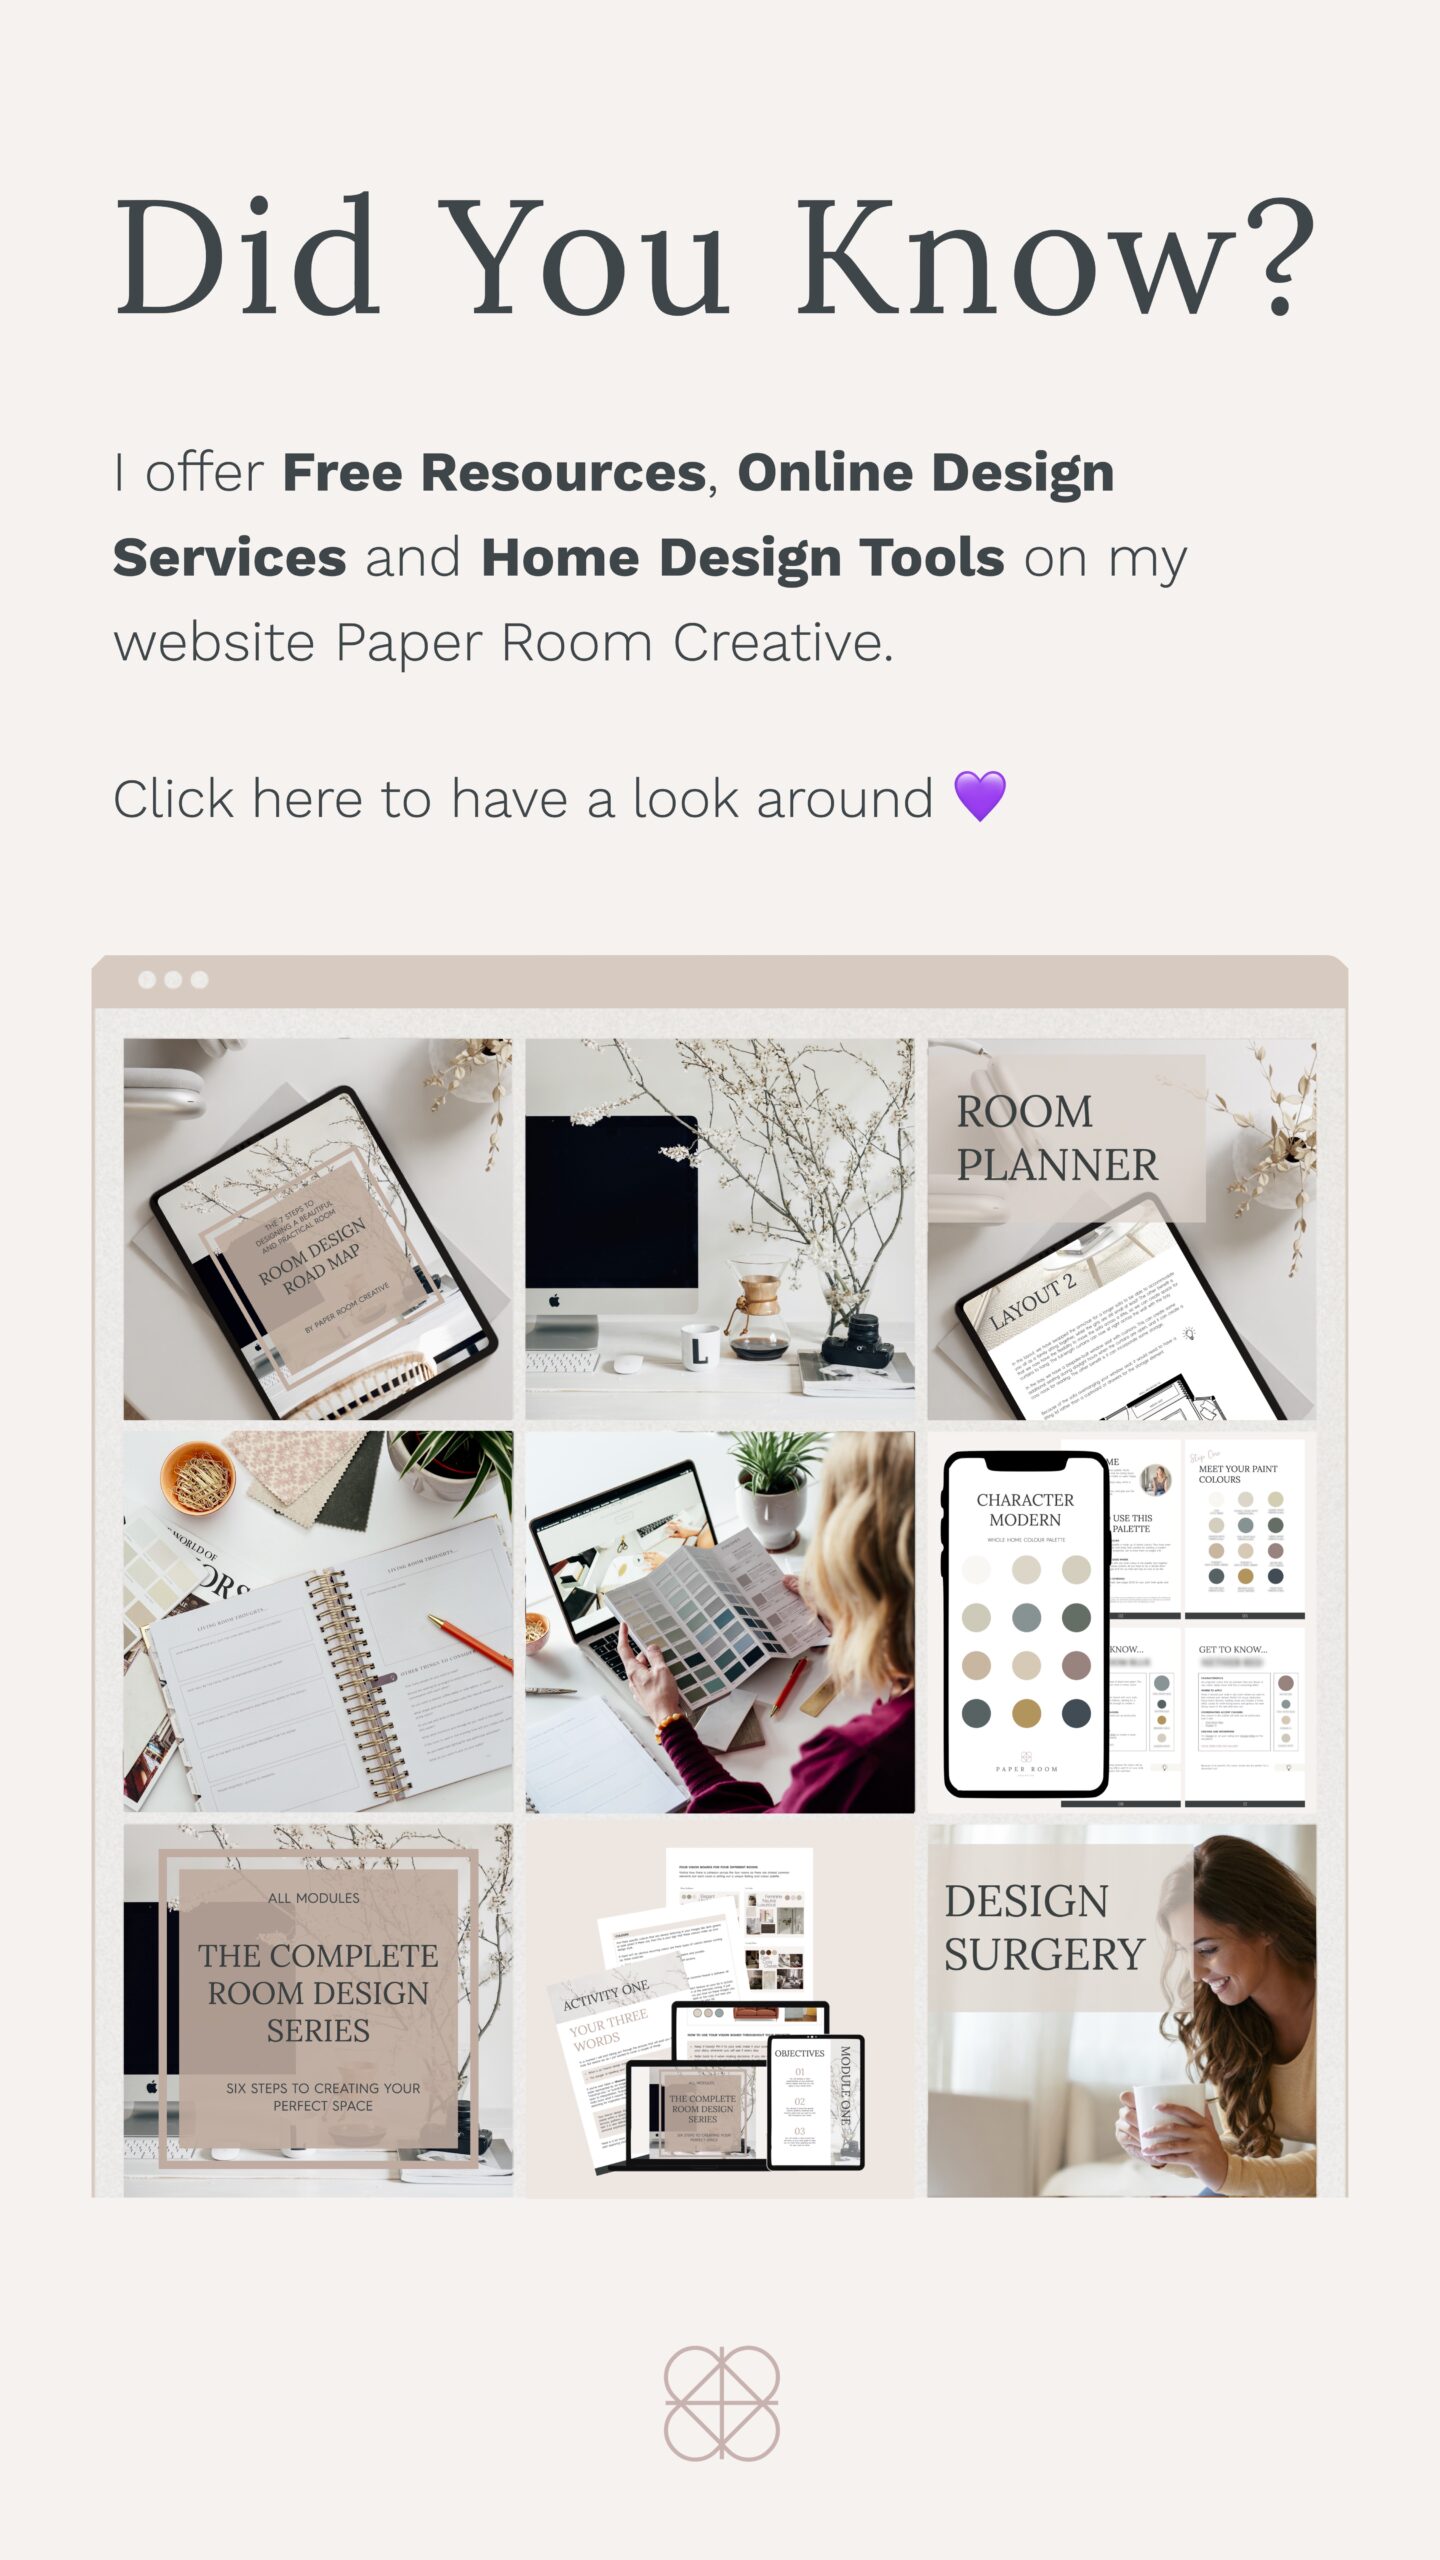
If you would like any help with designing your own built-in storage then get in touch. I offer my interior design services across Southampton and Hampshire and I’m always happy to help 🙂
Sarah x